Building A Simple iOS Calculator App - Part 1


A calculator app is a great example for a simple iOS application. In this tutorial series we will cover all steps to build one.
Introduction
This will be a four part tutorial that will cover everything to build a complete calculator iOS app. This app won’t win a design award, but it will be a complete calculator that can be used for basic calculations. The tutorial will have four parts:
- Part 1: Introduction and project creation
- Part 2: Creating the user interface
- Part 3: Creating the model layer
- Part 4: Creating the controller layer
All you need for this tutorial is some basic Swift knowledge. So let’s start:
Step 1: Creating The Project
The first step is pretty straightforward: Download Xcode. You can find it on the Mac App Store. Then start Xcode and choose “File -> New -> Project. The following popover appears:
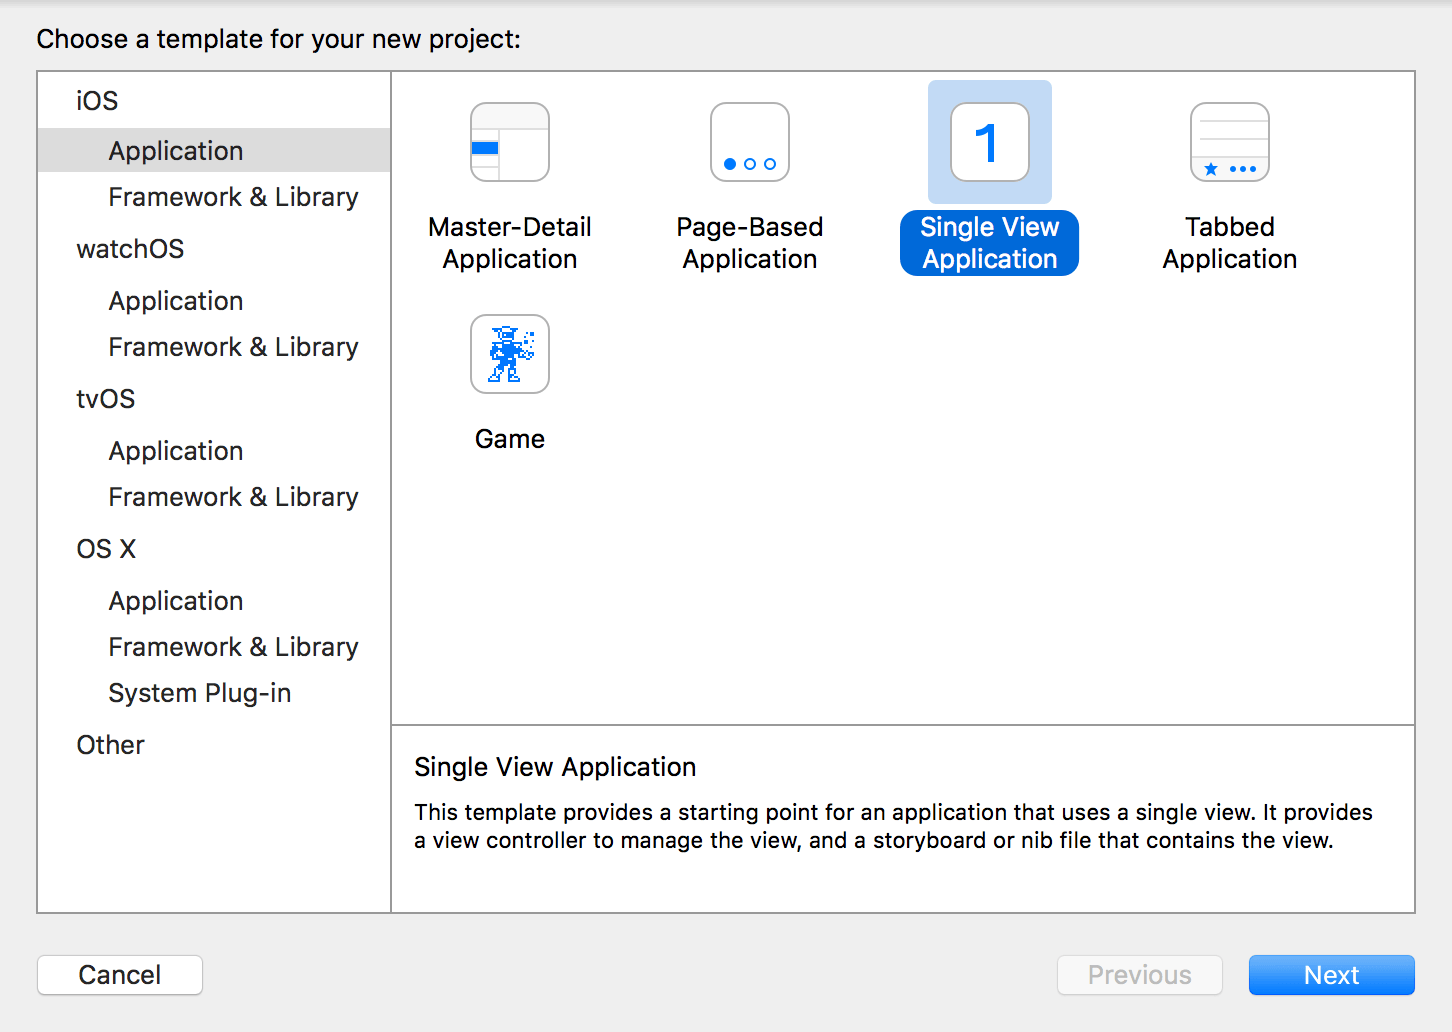
For our example “Single View Application” is the perfect fit. Click next.

Here you have to make several decisions:
- Product Name: The actual name of your app. In this case, Calculator seems to be a good fit.
- Organization Name: The name of your company. You can also choose your own name.
- Organization Identifier: A unique identifier for your company. You should use reverse domain notation.
- Bundle Identifier: The bundle identifier is a unique identifier for your app. Since it is a combination of your organisation identifier and your product name, it should be unique.
- Language: In iOS development you can choose between Swift and Objective-C. In my opinion, you should use Swift for new projects. If you are not familiar with Swift yet, you can take a look at this tutorial.
- Device: You can choose between “Universal”, “iPhone” and “iPad”. For this tutorial we choose “iPhone”.
- Use Core Data, Include Unit Tests, Include UI Tests: Although all three options are important features, we won’t cover them in this tutorial. So please uncheck the boxes.
After clicking “next” you can choose the destination folder for your project. Click next and you’ve created the calculator project!
Now you can click the play button in the upper left corner of Xcode and the app will start in the simulator. We haven’t done anything in the project yet, so the screen of app is just white.
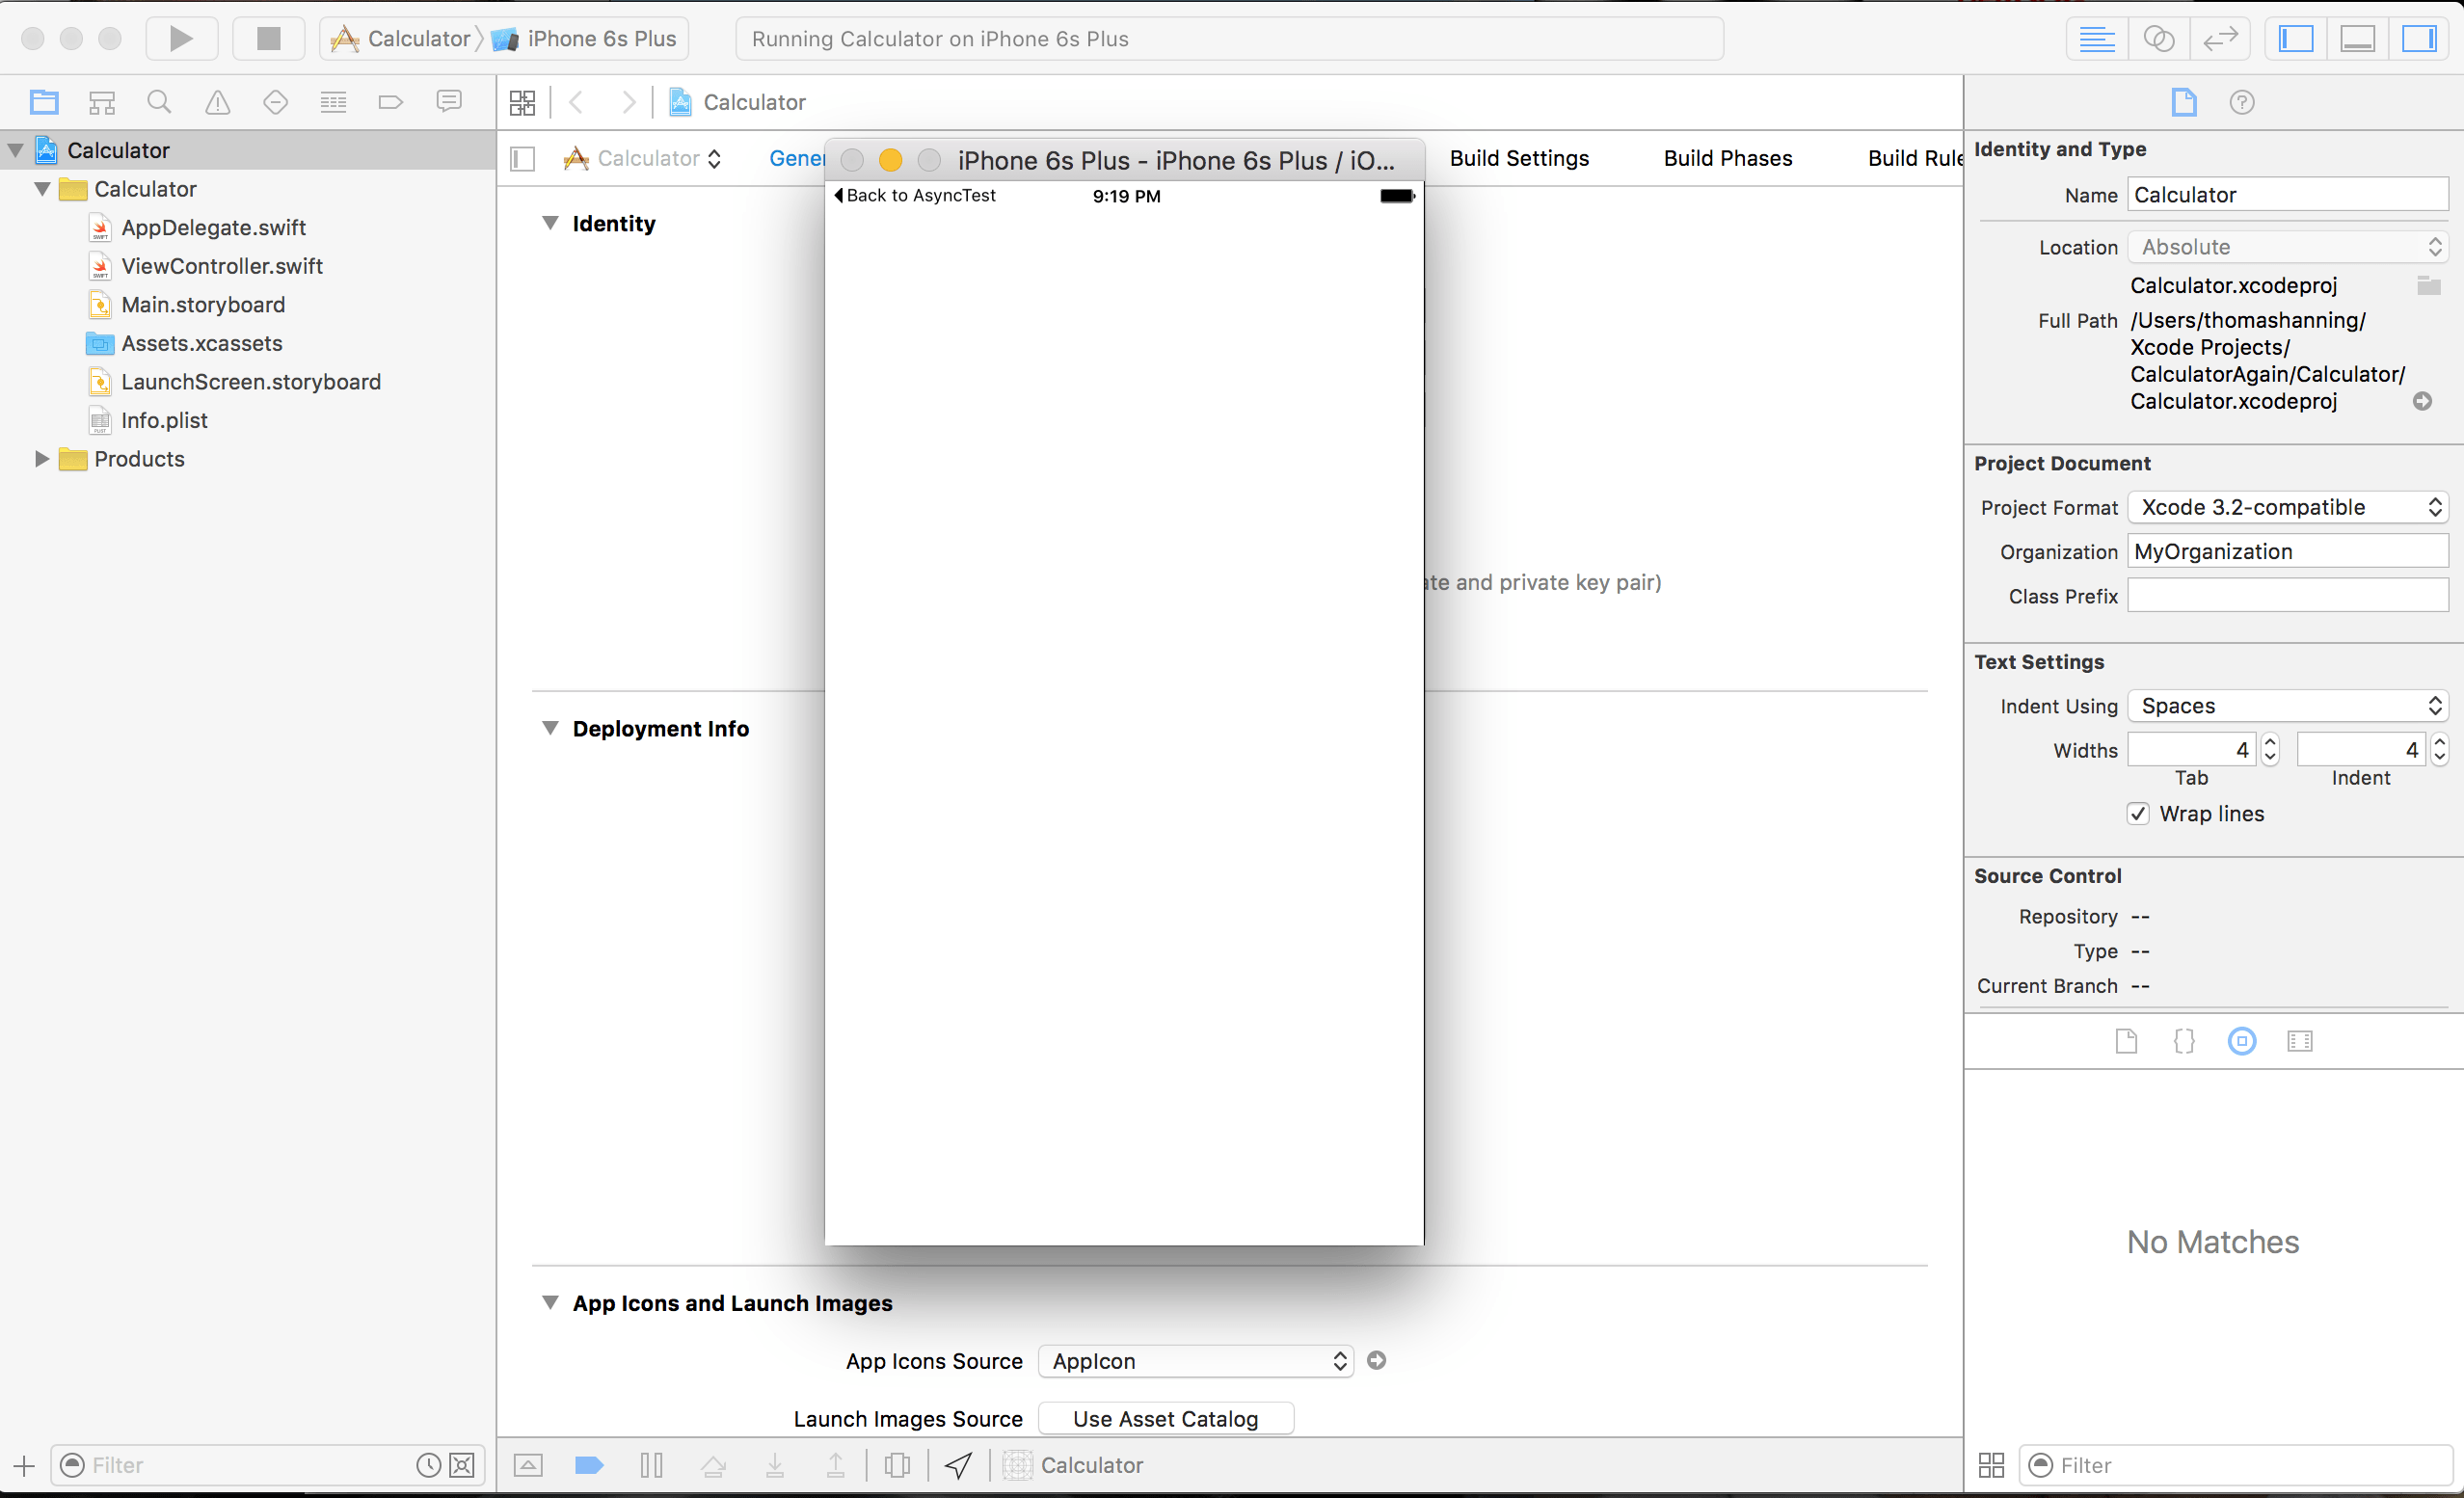
But we will change that, so stay tuned for the next part of this tutorial!
References:
Title Image: @ lenetstan / shutterstock.com