SwiftUI: Alert
Alert is equivalent to UIKit’s UIAlertView in SwiftUI. This post is about creating and presenting an alert in SwiftUI.


Creating an alert in SwiftUI
Creating an alert in SwiftUI is very straightforward:
Alert(title: Text("Hello World!"))But how do you present it? Since SwiftUI is a declarative UI framework, you don’t present it by reacting to a user action in a callback. Instead, you declare under which state it should be presented. Remember: A SwiftUI view is a function of its state.
You define the conditions for presenting the alert by using the alert function. It takes two arguments:
- A bool binding (the state) specifies whether the alert should be displayed.
- A closure that returns the actual alert.
SwiftUI refreshes the view whenever the bool value changes since it is a state. As a consequence, the alert gets displayed if it’s set to true. After the alert gets dismissed, the bool value is set automatically to false.
Take a look at the following example:
struct ContentView: View {
@State var showAlert = false
var body: some View {
VStack {
Button(action: {
self.showAlert.toggle()
}) {
Text("Show alert!")
}
}.alert(isPresented: $showAlert) { () -> Alert in
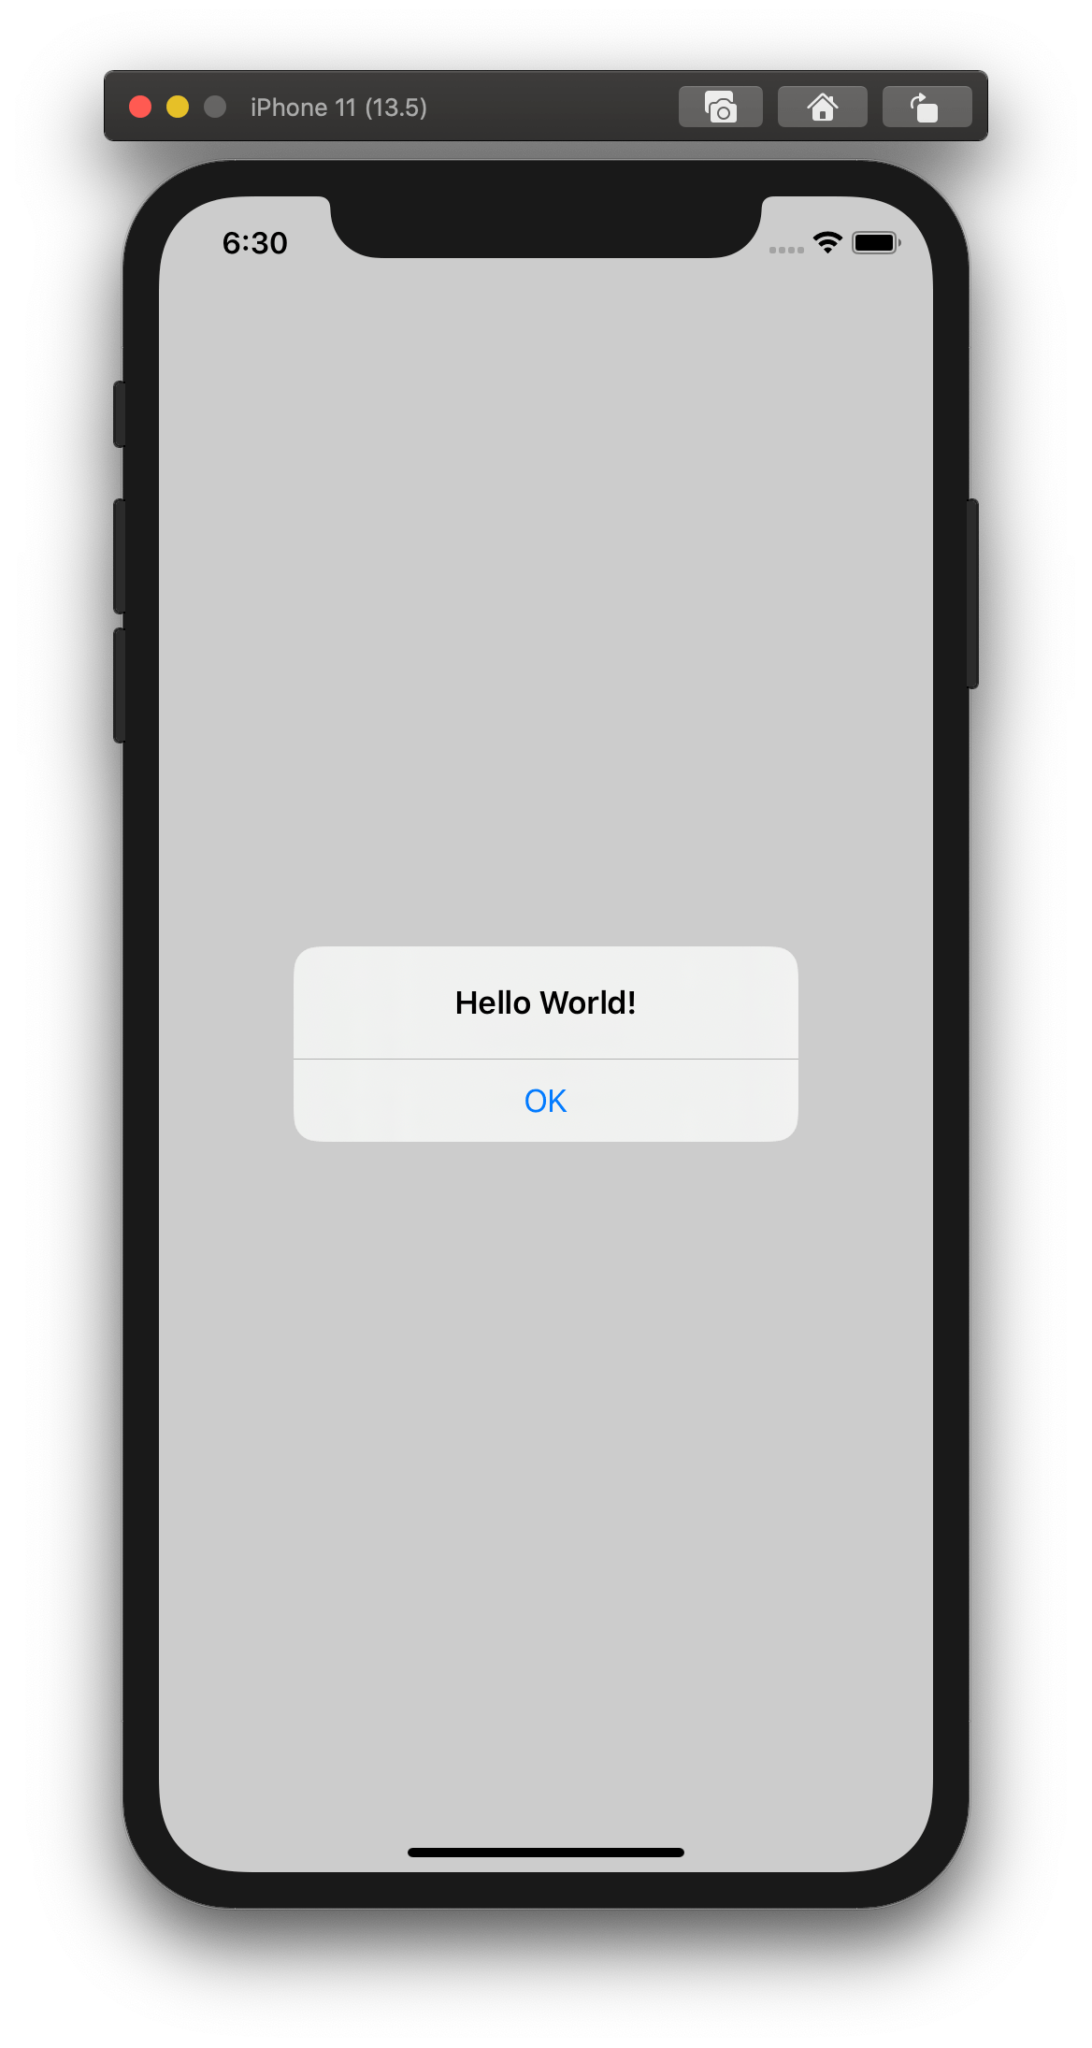
Alert(title: Text("Hello World!"))
}
}
}The alert has by default an “OK” button.
Of course, it’s also possible to add a message by using the message parameter:
Alert(title: Text("Hello World!"), message: Text("An important message"))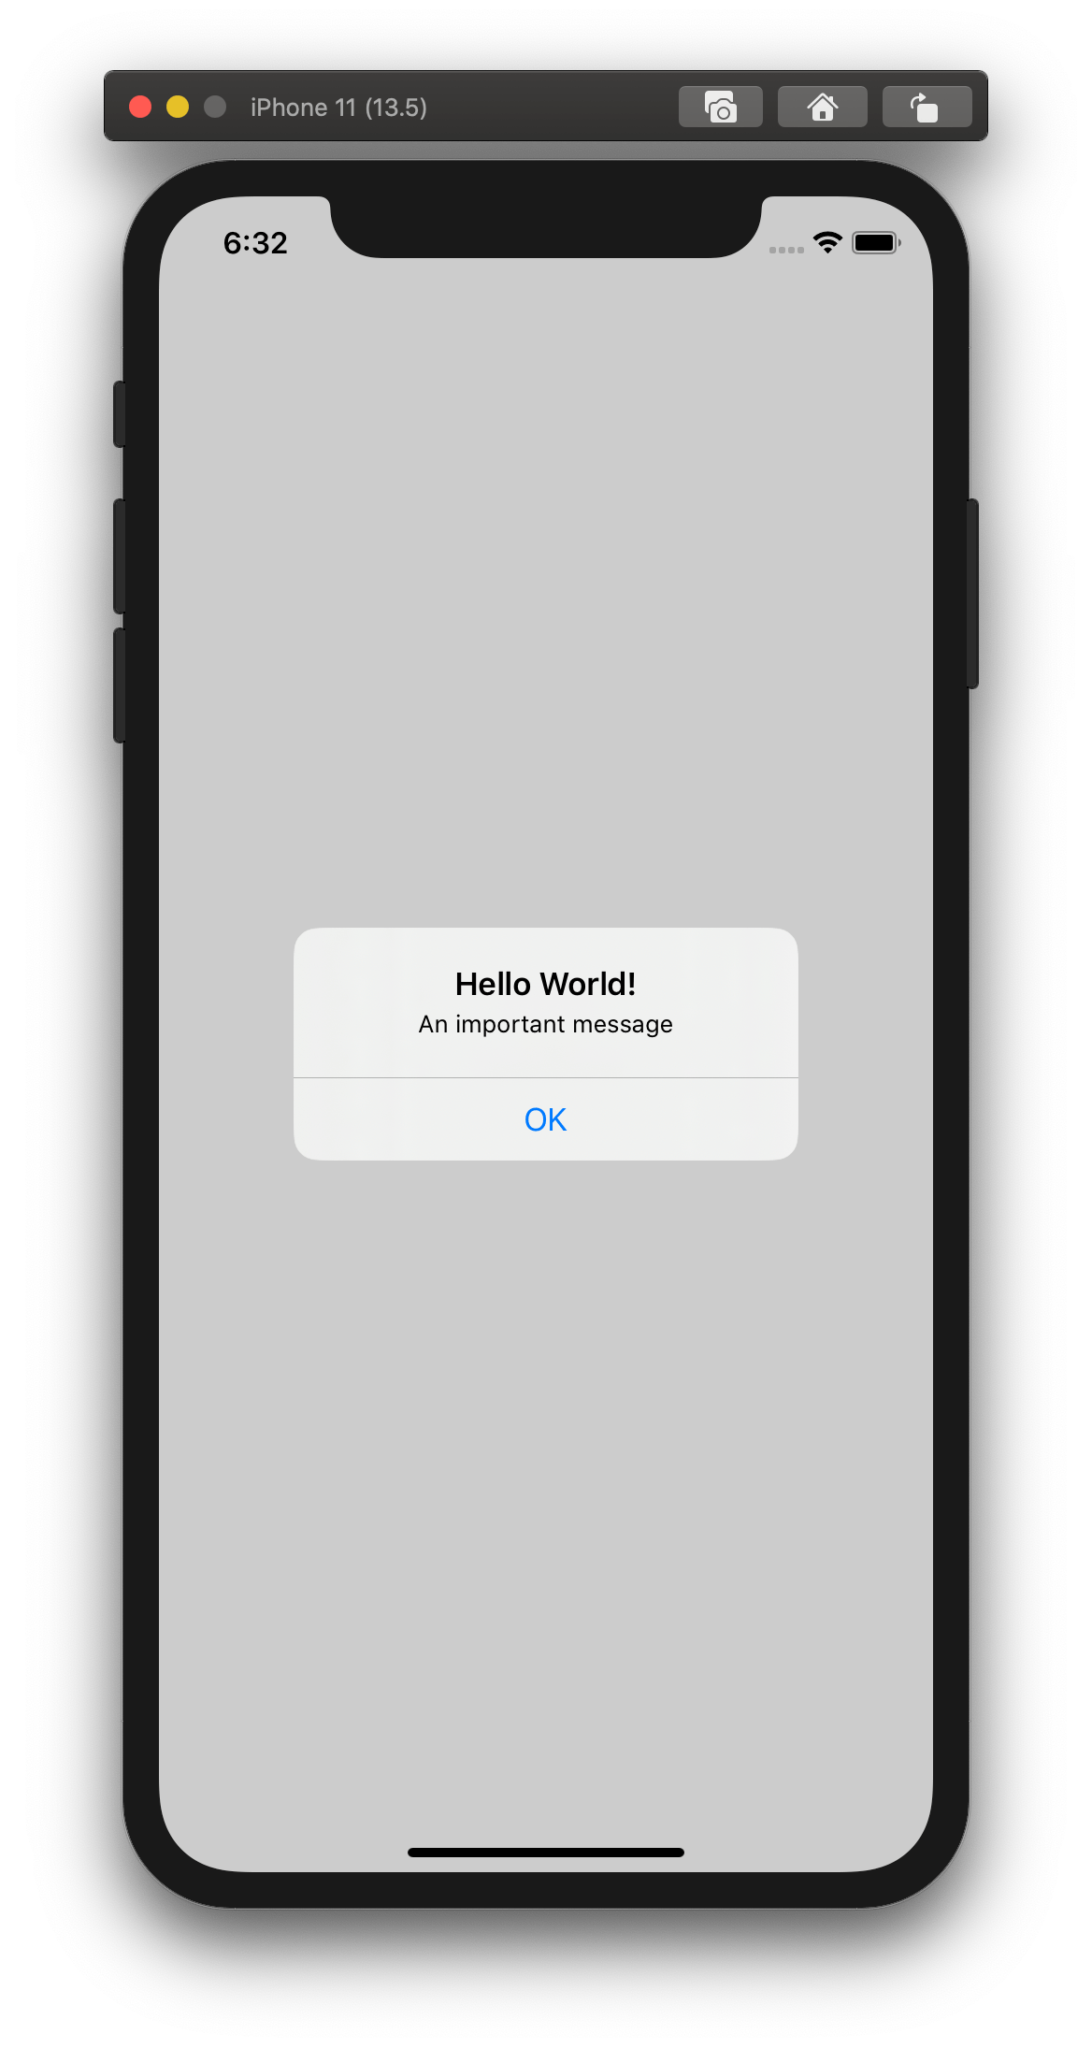
Subscribe to ThomasHanning.com
- "iOS Dev & Swift Email Newsletter" - The newsletter of curated iOS development and Swift resources from around the web.
- Get the latest blog posts from ThomasHanning.com directly into your inbox
- Write comments
Adding buttons and actions
So the alert from the last example is quite appropriate for displaying a message. But in many cases you also want the user to take a decision and you want to define an action. For that, you can add one or two buttons that have completion blocks. An alert with one button can be created as follows:
.alert(isPresented: $showAlert) { () -> Alert in
            let button = Alert.Button.default(Text("OK")) {
                print("OK Button Pressed")
            }
            return Alert(title: Text("Hello World!"), message: Text("An important message"), dismissButton: button)
 }
Besides default there are another two button types: destructive and cancel. You should pick the one that fits best to your action.
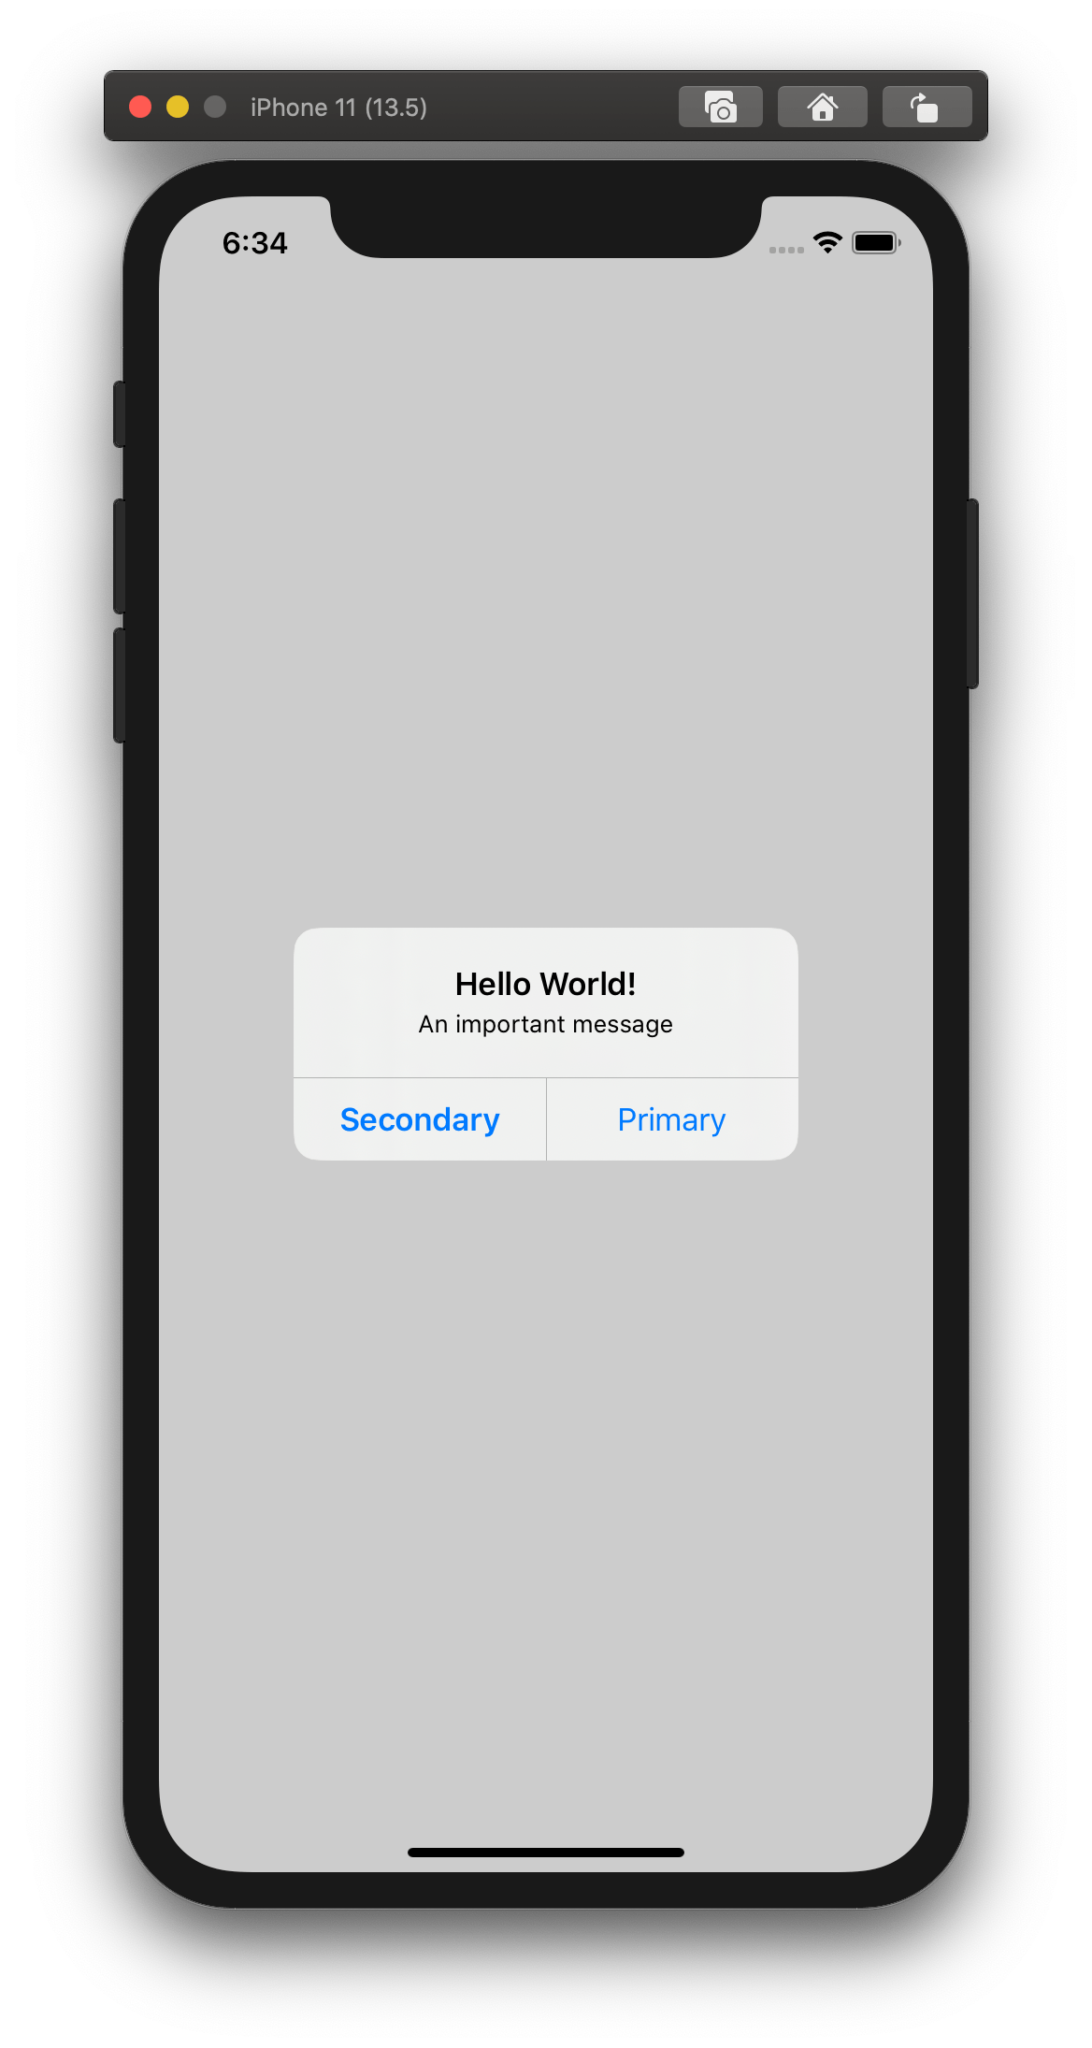
Now let’s add two buttons:
.alert(isPresented: $showAlert) { () -> Alert in
            let primaryButton = Alert.Button.default(Text("Primary")) {
                print("primary button pressed")
            }
            let secondaryButton = Alert.Button.cancel(Text("Secondary")) {
                print("secondary button pressed")
            }
            return Alert(title: Text("Hello World!"), message: Text("An important message"), primaryButton: primaryButton, secondaryButton: secondaryButton)
        }
It’s not possible to add more than two buttons though. Although that’s possible in UIKit, that’s not a restriction in SwiftUI: Alerts with more than two buttons could be confusing. Instead, you can use an action sheet.
Creating multiple alerts in SwiftUI
So far so good. But for a view, it’s not so uncommon to have more than one scenario for displaying an alert. So do you just chain the .alert functions? Let’s try it out:
// DOESN'T WORK:
struct ContentView: View {

    @State var showAlert1 = false
    @State var showAlert2 = false

    var body: some View {
        VStack {
            Button(action: {
                self.showAlert1.toggle()
            }) {
                Text("Show alert!")
            }
            Button(action: {
                self.showAlert2.toggle()
            }) {
                Text("Show alert!")
            }
        }.alert(isPresented: $showAlert1) { () -> Alert in
            Alert(title: Text("Hello World!"))
        }.alert(isPresented: $showAlert2) { () -> Alert in
            Alert(title: Text("Hello World2!"))
        }
    }
}
Unfortunately, this doesn’t work. The reason is that every view can only have one alert. So one possibility is to call the alert function on the two button views:
struct ContentView: View {

    @State var showAlert1 = false
    @State var showAlert2 = false

    var body: some View {
        VStack {
            Button(action: {
                self.showAlert1.toggle()
            }) {
                Text("Show alert!")
            }.alert(isPresented: $showAlert1) { () -> Alert in
                Alert(title: Text("Hello World!"))
            }

            Button(action: {
                self.showAlert2.toggle()
            }) {
                Text("Show alert!")
            }.alert(isPresented: $showAlert2) { () -> Alert in
                Alert(title: Text("Hello World2!"))
            }
        }
    }
}
This works. However, if you have several alerts, this can become quite confusing. Alternatively, you can use an overloaded method of .alert. Instead of a boolean, it takes a binding that confirms to the Identifiable protocol. A type confirms to this protocol if it implements an id so that an instance can be identified uniquely. We create a struct that confirms to this protocol. Furthermore, this struct has an enum that represents all possible alert types:
struct AlertId: Identifiable {

    var id: AlertType

    enum AlertType {
        case type1
        case type2
    }
}

struct ContentView: View {

    @State var alertId: AlertId?

    var body: some View {
        VStack {
            Button(action: {
                self.alertId = AlertId(id: .type1)
            }) {
                Text("Show alert!")
            }

            Button(action: {
                self.alertId = AlertId(id: .type2)
            }) {
                Text("Show alert!")
            }
        }.alert(item: $alertId) { (alertId) -> Alert in
            return createAlert(alertId: alertId)
        }
    }

    private func createAlert(alertId: AlertId) -> Alert {
        switch alertId.id {
        case .type1:
            return Alert(title: Text("Hello World!"))
        case .type2:
            return Alert(title: Text("Hello World2!"))
        }
    }
}
Now, whenever the value of alertId changes, the view gets refreshed (a SwiftUI view is a function of its state!) and displays the alert. To make the code a little bit more clear, we create the alert inside a helper function.
iOS 15 And Above
In iOS 15 and above there is a new syntax available. You can display the alert directly with the alert modifier:
struct ContentView: View {

    @State var showAlert = false

    var body: some View {
        VStack {
            Button(action: {
                self.showAlert.toggle()
            }) {
                Text("Show alert!")
            }
        }.alert(Text("Hello World!"), isPresented: $showAlert, actions: {} )
    }

}
It’s still possible to use the old syntax though.