UIActivityIndicatorView


You use an UIActivityIndicatorView to indicate that something is going on. For example, that could be a calculation or a network request – basically everything that takes same time.
Hint: This post has been updated to Swift 3, Xcode 8 and iOS 10
Creating an UIActivityIndicatorView
As with UIView and its subclasses, there are basically two ways to create an UIActivityIndicatorView: You can do it in the interface builder by dragging it into another view:
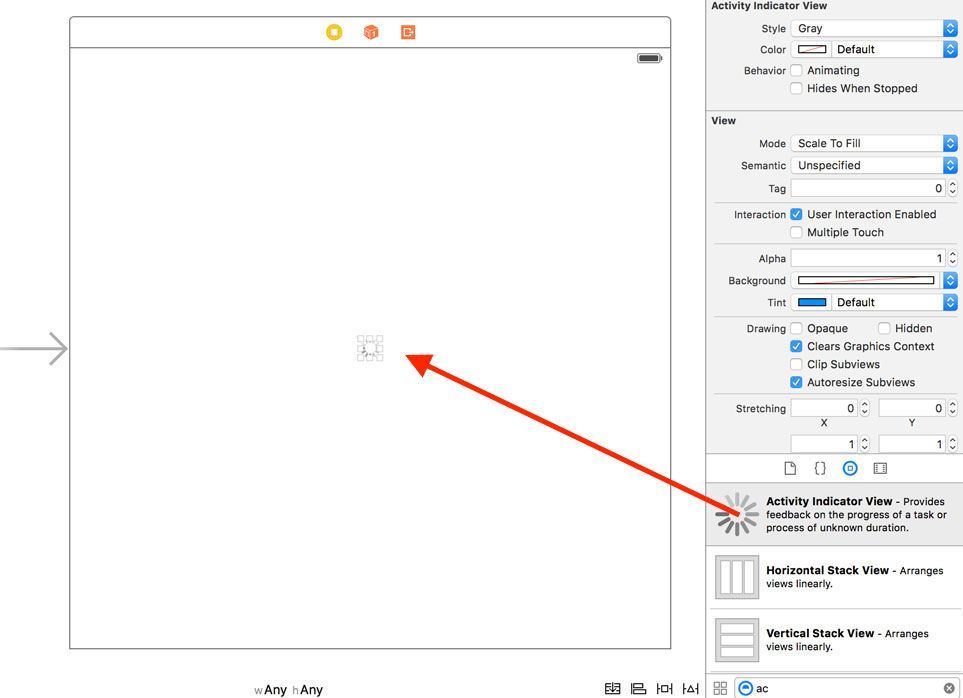
After that, you just have to set constraints for its position. You don’t need to set size constraints because it has an intrinsic content size. Don’t forget to set an outlet for the indicator view in order to have access to it in your code.
Alternatively, you can create it programatically. The easiest way to do this is by using the designated initialiser of UIActivityIndicatorView:
import UIKit

class ViewController: UIViewController {

    var activityIndicator = UIActivityIndicatorView(activityIndicatorStyle: .gray)

    override func viewDidLoad() {
        super.viewDidLoad()

        view.addSubview(activityIndicator)

        activityIndicator.translatesAutoresizingMaskIntoConstraints = false

        let horizontalConstraint = NSLayoutConstraint(item: activityIndicator, attribute: NSLayoutAttribute.centerX, relatedBy: NSLayoutRelation.equal, toItem: view, attribute: NSLayoutAttribute.centerX, multiplier: 1, constant: 0)
        view.addConstraint(horizontalConstraint)

        let verticalConstraint = NSLayoutConstraint(item: activityIndicator, attribute: NSLayoutAttribute.centerY, relatedBy: NSLayoutRelation.equal, toItem: view, attribute: NSLayoutAttribute.centerY, multiplier: 1, constant: 0)
        view.addConstraint(verticalConstraint)

    }

}
In the viewDidLoad() method we add the activity indicator to the view and we set the layout constraints programatically. You won’t see anything though because a programatically created UIActivityIndicatorView is set to be invisible as long as it’s not running. However, if it’s created in the interface builder, the activity indicator behaves differently in this regard.
Running and stopping the UIActivityIndicatorView
In order to run an UIActivityIndicatorView, you have to call the startAnimating() method:
activityIndicator.startAnimating()
To stop it, call the following method:
activityIndicator.stopAnimating()
Very often you want the indicator view to be invisible when it is not running. To achieve this you can set the indicator view to be hidden after stoping it:
activityIndicator.hidden = true
However, it has an option to hide itself automatically when it’s not running. For that you have to set the hidesWhenStopped to true, either programatically
activityIndicator.hidesWhenStopped = true
or in the interface builder:
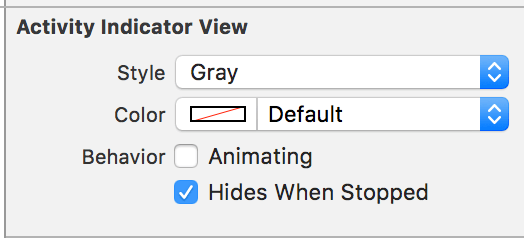
As mentioned before, hidesWhenStopped is initially set to true, if you create the UIActivityIndicatorView programatically.
Configuration Options
UIActivityIndicatorView is a very basic view, so that there are not so many configuration options. One thing you can configure though is its style. You can choose between three of them:
UIActivityIndicatorViewStyle.whiteLarge
UIActivityIndicatorViewStyle.white
UIActivityIndicatorViewStyle.gray
The constants are very unambiguous. The first one configures the UIActivityIndicatorView to be large and white, the second, UIActivityIndicatorViewStyle.white, looks similarly but is not as large. And the last one creates a grey activity indicator:

If you don’t like the grey oder white color, you can also set a custom color. For that you can use the property color, which is an UIColor:
activityIndicator.color = UIColor.yellow
References
Title Image: @ sergign / shutterstock.com
Class Reference