Loading a View from a XIB


Generally, there are two ways to layout views: building it in interface builder or by coding. Both ways have their applications, but in many cases the interface builder way is more comfortable. If you layout a view in the interface builder, then it is most times associated with a view controller. But it is also possible to layout a view that is NOT associated with a view controller but only with a custom view! Then you have the possibility to initialize the view from code, load the layout from the XIB and add this view as a subview to another view.
Creating the View
First, we create a class named CustomView , which is a subclass of UIView:

Then we create a XIB file. You can find it under File -> New File -> User Interface -> View and we call it CustomView.xib.

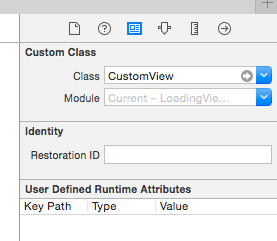
Then we go into the CustomView.xib file, select the view and specify CustomView as its class in the identity inspector.
Now we change the background color of the view to red and add an button with constraints that align it horizontally and vertically in the container.
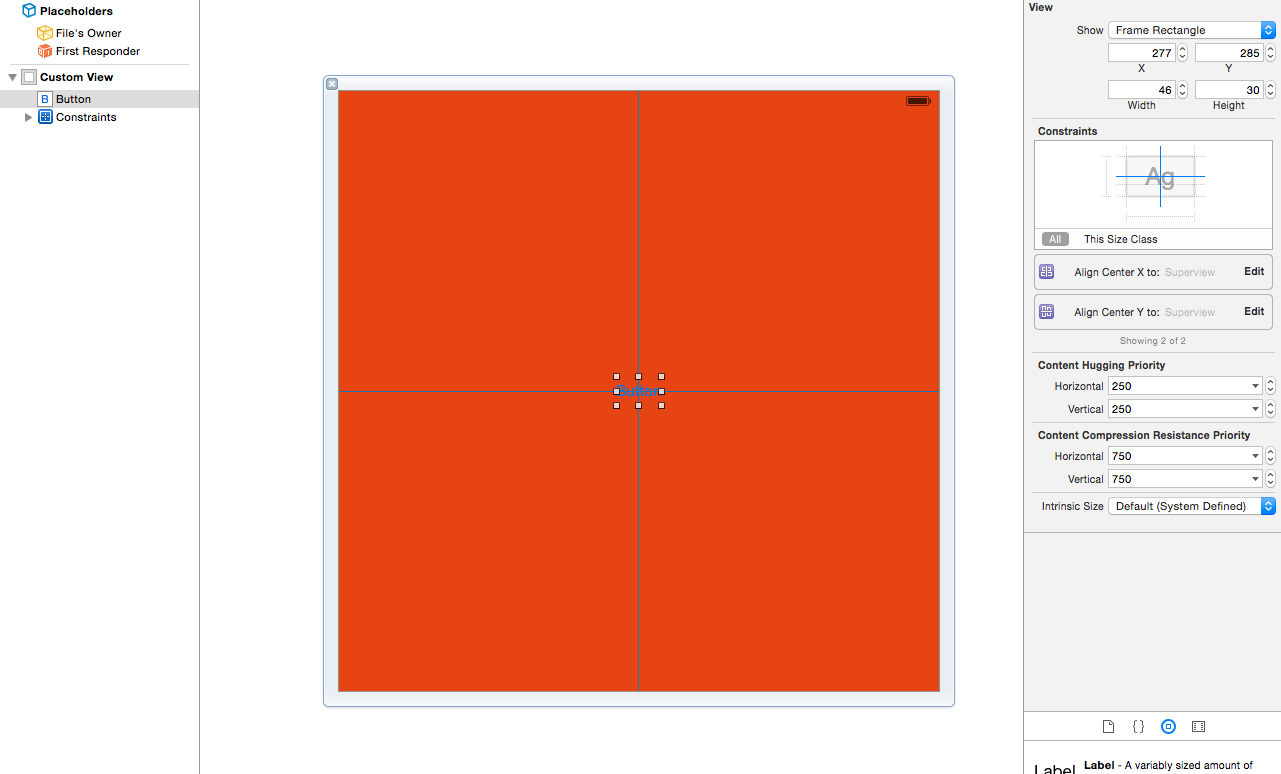
If we switch to the assistant editor, it is now possible to add actions and outlets to the CustomView.swift file.

Loading the View
After we have builded our view, we can now add it as a subview to another view. For that, we go to a view controller and insert in the interface builder a new view called contentView and create an outlet. We give the contentView a size of 50 x 50 and place it in the upper left corner.
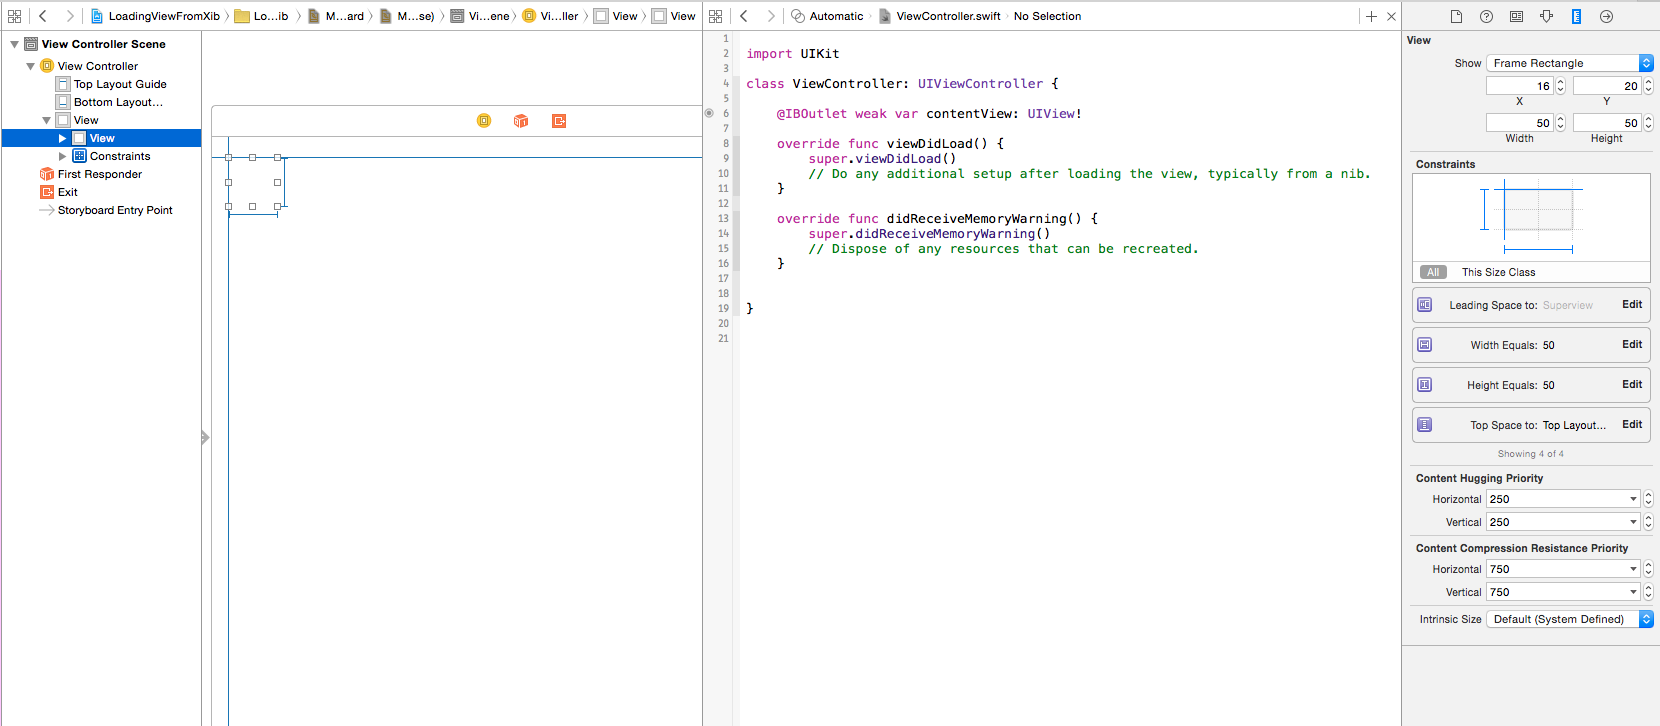
The last step for loading the view are the following commands that we place in the view controller’s viewDidLoad method:
if let customView = NSBundle.mainBundle().loadNibNamed("CustomView", owner: self, options: nil).first as? CustomView {
      contentView.addSubview(customView)

      customView.setTranslatesAutoresizingMaskIntoConstraints(false)
      contentView.addConstraints(NSLayoutConstraint.constraintsWithVisualFormat("H:|-0-[view]-0-|", options: NSLayoutFormatOptions(0), metrics: nil, views: ["view":customView]))
      contentView.addConstraints(NSLayoutConstraint.constraintsWithVisualFormat("V:|-0-[view]-0-|", options: NSLayoutFormatOptions(0), metrics: nil, views: ["view":customView]))
}
First, we initialize the class and load the view from the xib file. We do this with the loadNibNamed method. Then we add the subview and set reasonable constraints.
Finally, the result looks like this:

References
Image: @ lfz / Shutterstock.com