UIKeyCommand: Defining Keyboard Shortcuts

In this article we will take a look at UIKeyCommand, which allows you to define custom keyboard shortcuts in your apps.
I’m really a big fan of Apple’s smart keyboard. For example, these three shortcuts are always available and will make your workflow much quicker:
- CMD+tab: Switching between applications
- CMD+space: Open spotlight search
- CMH+H: Switch to the home screen
But there are not only system wide shortcuts but app specific shortcuts as well. For example, take a look at the shortcuts of Ulysses:
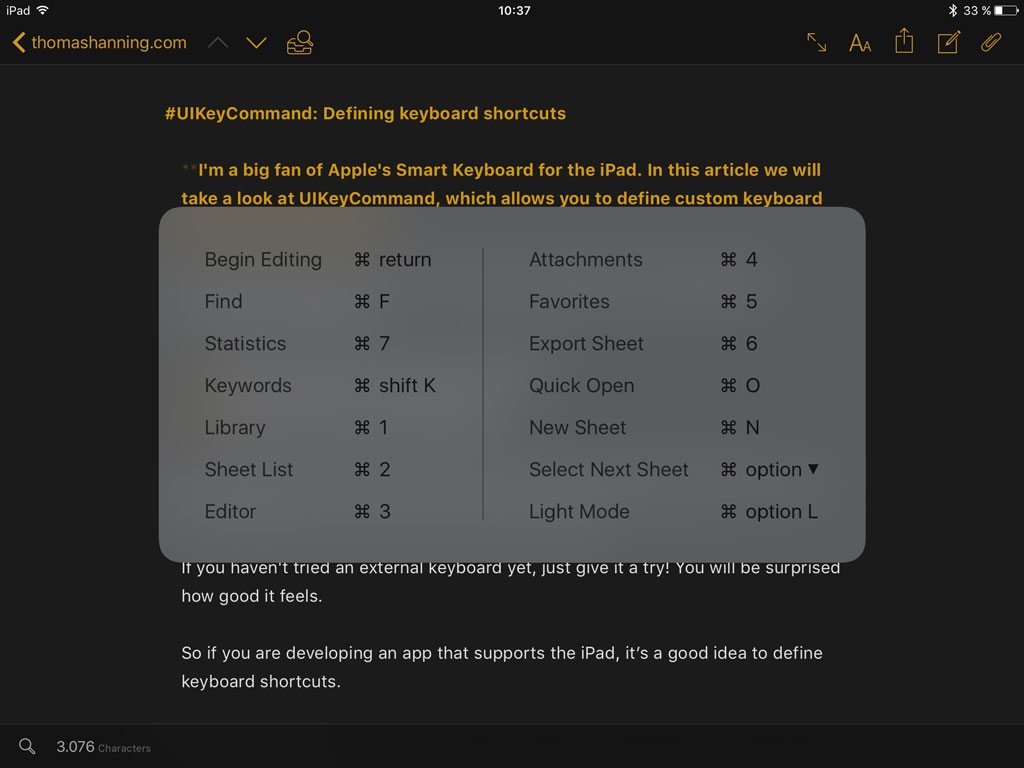
If you haven’t tried an external keyboard yet, just give it a try! You will be surprised how useful it is.
Defining shortcuts
It’s in fact very simple to define shortcuts. You just have to override the property keyCommand and return an array of UIKeyCommand objects:
override var keyCommands: [UIKeyCommand]? {

     let commands = [
          UIKeyCommand(input: "X", modifierFlags: .command, action: #selector(ViewController.keyCommand1Pressed(command:)), discoverabilityTitle: "Key Command 1"),
          UIKeyCommand(input: "Y", modifierFlags: .alternate, action: #selector(ViewController.keyCommand2Pressed(command:)), discoverabilityTitle: "Key Command 2")
     ]

     return commands

}

func keyCommand1Pressed(command:UIKeyCommand) {
     print("keyCommand 1 pressed")
}

func keyCommand2Pressed(command:UIKeyCommand) {
     print("keyCommand 2 pressed")
}
The property keyCommands can be overridden from any object, that inherits from UIResponder. In most cases, UIViewController is a good place to do this.
The UIKeyCommand initialiser takes four arguments:
- input: The character/digit that has to be pressed, like ‘X’ for example.
- modifierFlags: The key that has to be pressed together with the input string, like the command key for example.
- action: The selector that will be called after pressing the shortcut.
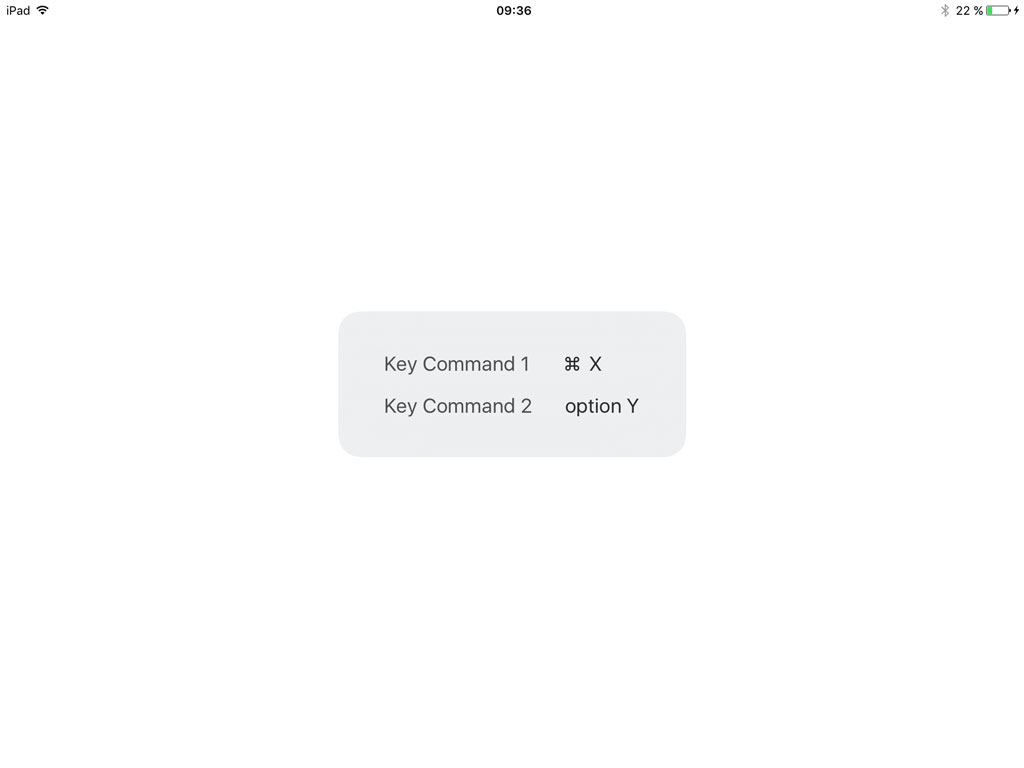
- discoverabilityTitle: The text that appears in the discoverability popoper.
After the shortcuts have been defined, they appear in the discoverability popover. You have to long press the command key for opening it:
The property will be looked up every time the user is using a shortcut. So you can define the shortcuts depending on the current context and state of the application.
Please also note that the object, that returns the key commands, has to be in the responder chain. So if the shortcuts are not available, try to override the following property in your view controller:
override var canBecomeFirstResponder: Bool {
     return true
}
So to summarise it, it’s not a big effort to define keyboard shortcuts.
What kind of keyboard shortcuts should you provide?
The iPad is different than the desktop computer – even though an external keyboard connected to an iPad creates a more “desktop like” feeling. So there are considerations for creating shortcuts. In my opinion, shortcuts on the iPad have two goals:
- Provide functionality, that is not obvious but important.
- Provide functionality, that is very often used.
Point 1 enables the user to do more with your app, and point 2 enables the user to use your app faster.
I also believe that it’s okay to provide a lot of shortcuts. They’re some kind of power-user feature so that it’s reasonable to assume that a lot of shortcut won’t overstrain the user.
References
Title image: @ Jiri Vaclavek / shutterstock.com