UIPopoverPresentationController

Since iOS 9, UIPopoverController is deprecated. Time to look at UIPopoverPresentationController, which has been introduced in iOS 8.
Hint: This post has been updated to Swift 3, Xcode 8 and iOS 10
Presenting a Controller as a Popover
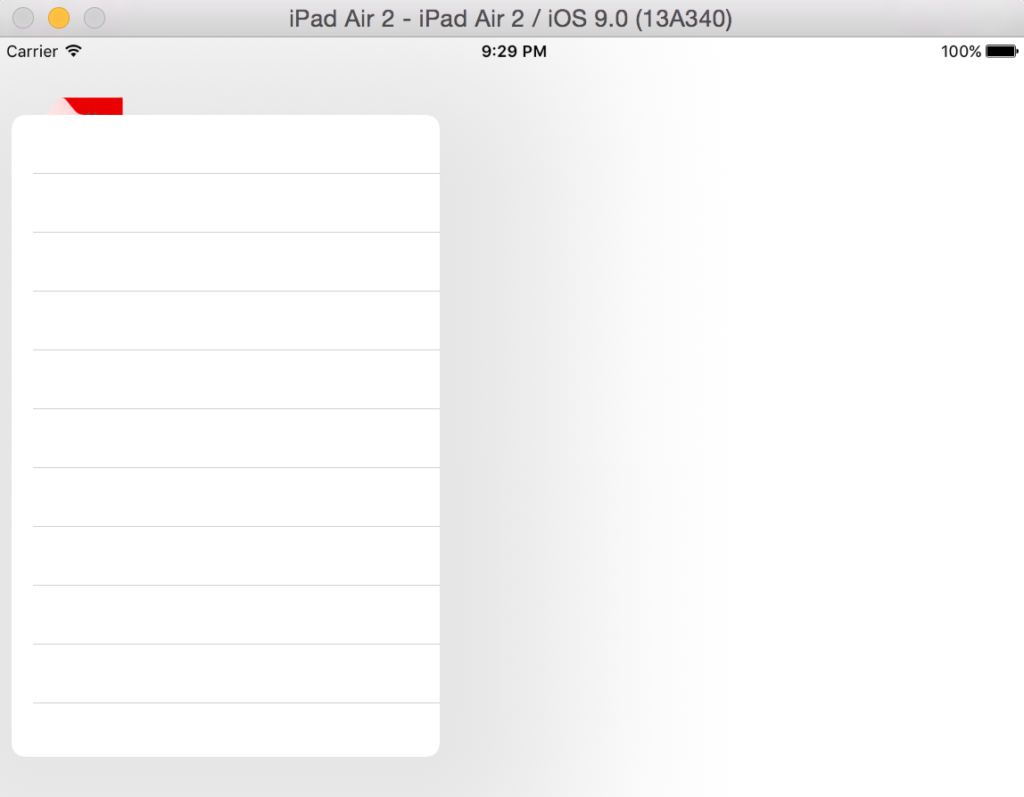
Presenting a controller as a popover is very straightforward with UIPopoverPresentationController. You just have to set its modalPresentationStyle property to UIModalPresentationStyle.popover and present it with the present method. UIKit then creates an UIPopoverPresentationController instance for you. This instance is accessible by a property of the controller you are presenting. However, you have to configure it. If you don’t do this, there will be an exception at runtime. Let’s take a look at an example:
@IBAction func importantButtonPressed(_ sender: UIButton) {
     let tableViewController = UITableViewController()
     tableViewController.modalPresentationStyle = UIModalPresentationStyle.popover

     present(tableViewController, animated: true, completion: nil)

     let popoverPresentationController = tableViewController.popoverPresentationController
     popoverPresentationController?.sourceView = sender

}
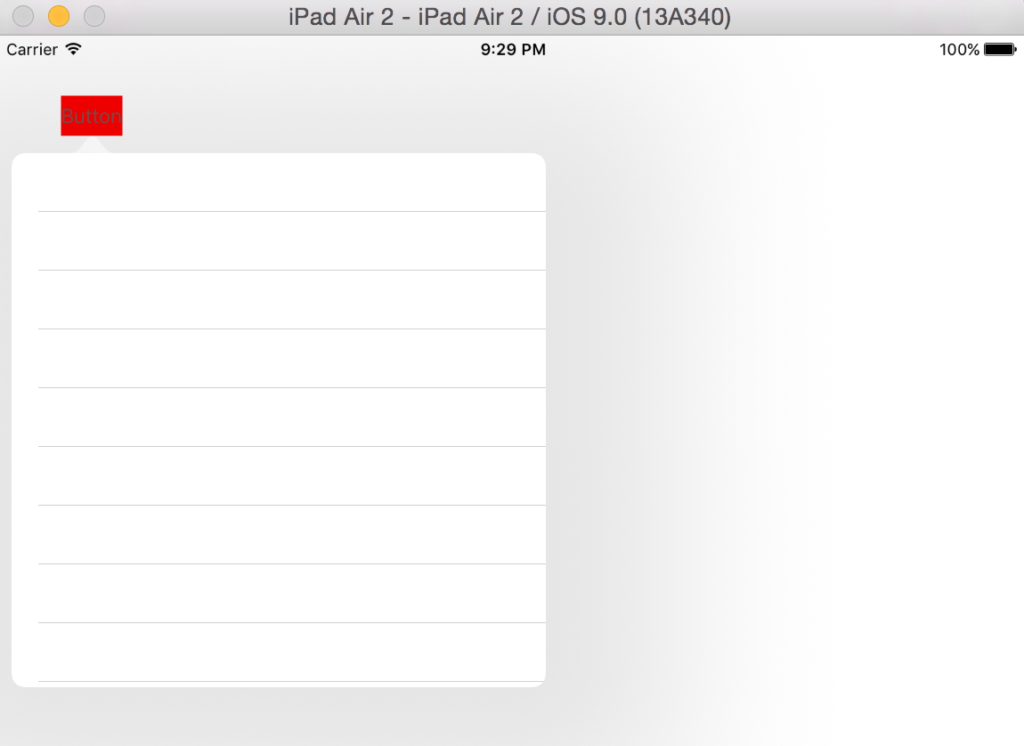
You have to set the sourceView property of the UIPopoverPresentationController. Alternatively, you can also set the barButtonItem property. UIKit needs this information to specify the location for the popover. Unfortunately, UIKit places the arrow in the upper left corner of the source view. In order to change this, you can assign a sourceRect . UIKit sets the arrow just below that rect.
Additionally, we can specify the size of the popover by the preferredContentSize property of the presented controller. Let’s expand our example:
@IBAction func importantButtonPressed(_ sender: UIButton) {
     let tableViewController = UITableViewController()
     tableViewController.modalPresentationStyle = UIModalPresentationStyle.popover
     tableViewController.preferredContentSize = CGSize(width: 400, height: 400)

     present(tableViewController, animated: true, completion: nil)

     let popoverPresentationController = tableViewController.popoverPresentationController
     popoverPresentationController?.sourceView = sender
     popoverPresentationController?.sourceRect = CGRect(x: 0, y: 0, width: sender.frame.size.width, height: sender.frame.size.height)
}
It seems a little bit strange to configure the UIPopoverPresentationController after the call of presentViewController . However, the API documentation encourages you to do it this way.
UIPopoverPresentationControllerDelegate
If we want to have even more control over the popover, we can specify a delegate for the UIPopoverPresentationControllerDelegate:
popoverPresentationController?.delegate = self
Then, you can implement these methods:
func prepareForPopoverPresentation(_ popoverPresentationController: UIPopoverPresentationController) {

}

func popoverPresentationControllerDidDismissPopover(_ popoverPresentationController: UIPopoverPresentationController) {

}

func popoverPresentationControllerShouldDismissPopover(_ popoverPresentationController: UIPopoverPresentationController) -> Bool {
     return true
}
The first one is called just before the popover is presented, the second after it is dismissed. With the third method you can control, if the popover should be dismissed. For example, you can return false until the user has done some specific action in the popover.
iPhone
In the default configuration the popover is presented as a modal view controller on the iPhone. However, if you return UIModalPresentationStyle.None in the adaptivePresentationStyleForPresentationController method of the UIPopoverPresentationControllerDelegate , you can present a popover also on the iPhone.
On the iPhone, a popover will always be presented as a modal view controller. Previous tricks to present it as a popover are not working anymore.
[thrive_text_block color=”blue” headline=”Conclusion”]UIPopoverPresentationController makes handling popovers much easier. Use it, if you are targeting at least iOS 8.[/thrive_text_block]
By the way: If you want to stay up-to-date on iOS development, checkout the latest issue of my iOS dev newsletter.
References
Image: @ Rawpixel / shutterstock.com
UIPopoverPresentationController Class Reference
UIPopoverPresentationControllerDelegate


