Using Custom Fonts


Out of the box iOS provides you a rich set of fonts. But sometimes there is the need to add another font to your project. For example, this could be one of the Google Fonts, which are open source. In this post we look how you can add a custom font to your project and how you can use it.
Adding a custom font
- Get the font as a .ttf file. Don’t forget to read the license agreement! You must be sure that you are allowed to use the font. There are almost always some restrictions. For example, sometimes you have to publish the license agreement in your app’s imprint.
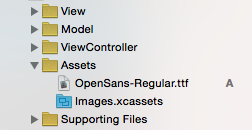
- Add the .ttf file to your project.
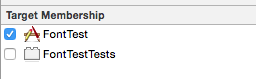
- If you want to use the font not only in the interface builder but also in your code, you have to add the .ttf file to your target.

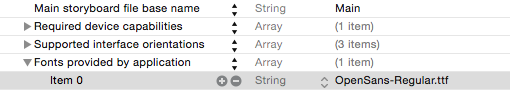
- Go to your plist and add the key “Fonts provided by application”. Then add “Item 0” and specify the name of your font file as the key.


Using a custom font
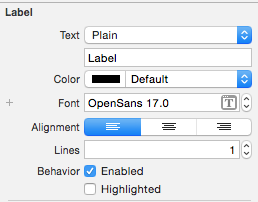
After you have added a custom font to your project, you can use it right away in the interface builder:
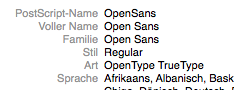
If you want to use the custom font in your code, you first need to know the “PostScript-Name” for the font. You can find it if you double click the .ttf file in the finder:
Now you can change for example the font of a label with the following method call:
aLabel.font = UIFont(name: "OpenSans", size: 12)